Call 724-253-2771
Get a free quote or Design Your Building
Want to see if a Gold Star building is right for you? Get a FREE quote or use our 3D Builder to design your own shed, garage, or cabin!


Building a DIY shed ramp can seem like a daunting task, but we’re here to guide you through every step! Before you head to the lumber yard or Home Depot, let’s start with the first step so you can gather the right tools for the job. But first, let’s start with the price.
Table of Contents
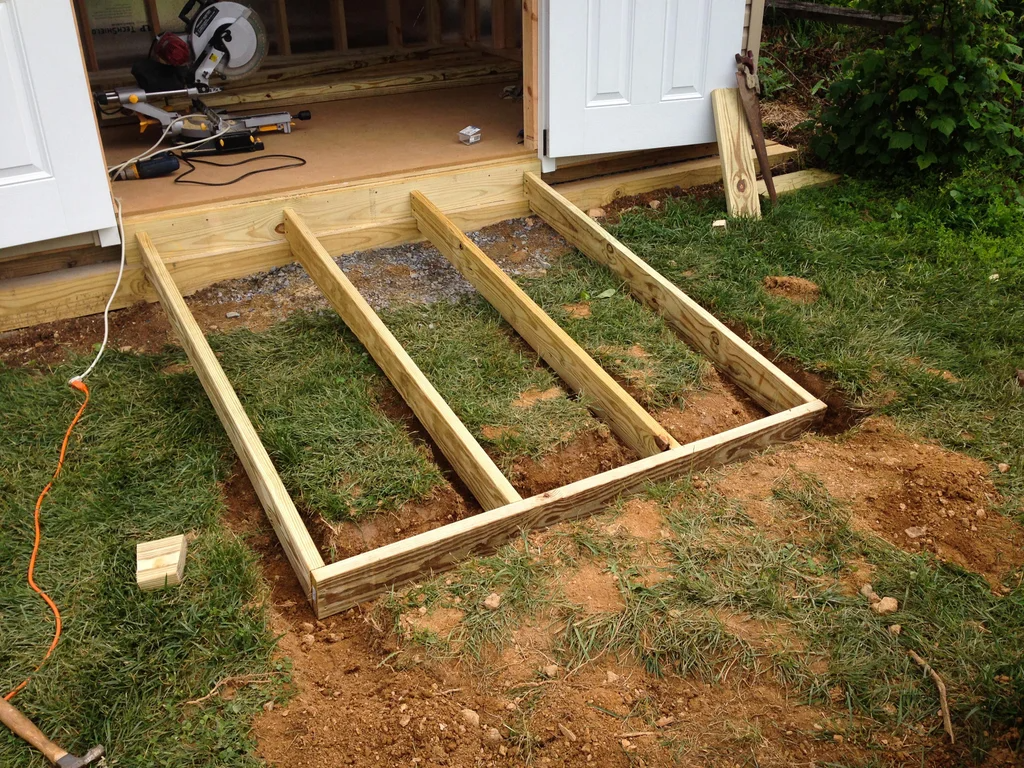
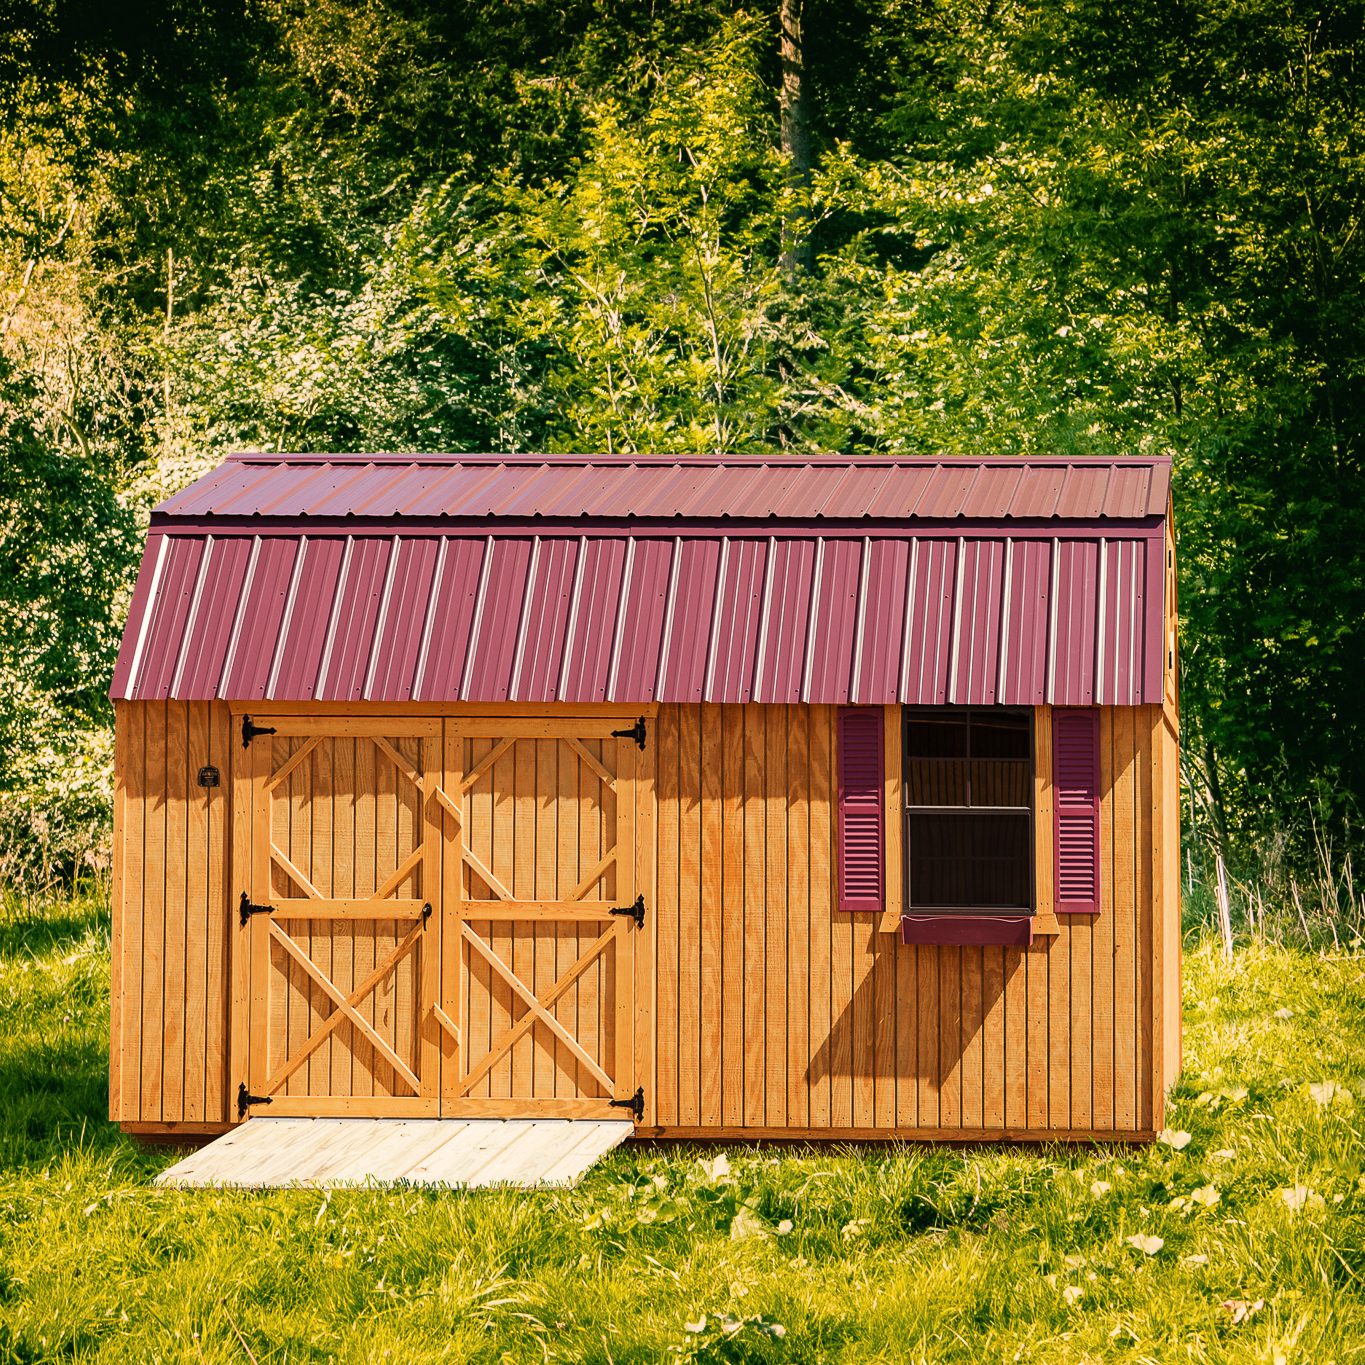
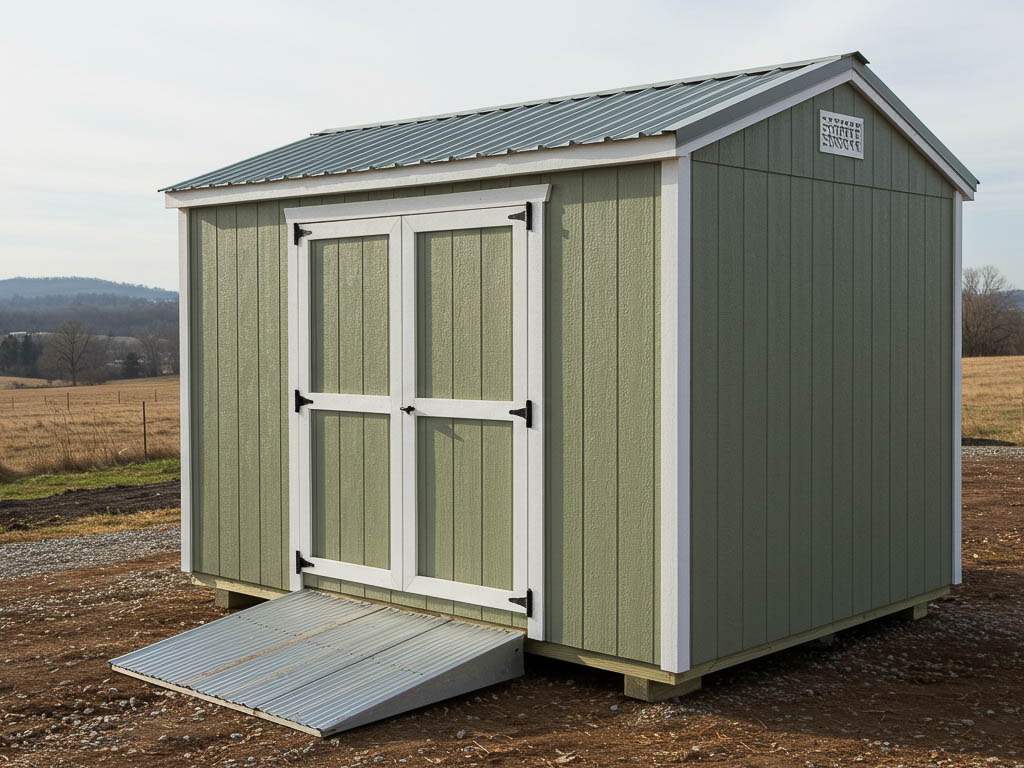
Photo credit: Source
A shed ramp can cost anywhere from $250-$1000 to build. It is an extensive range because there are a lot of different choices when it comes to your shed ramp. The size, material, and density are just a few. Here is a little bit more of a cost breakdown for shed materials.
| Wood | $200 – $500 |
| Aluminum | $500 – $750 |
| Concrete | $600 – $1000 |
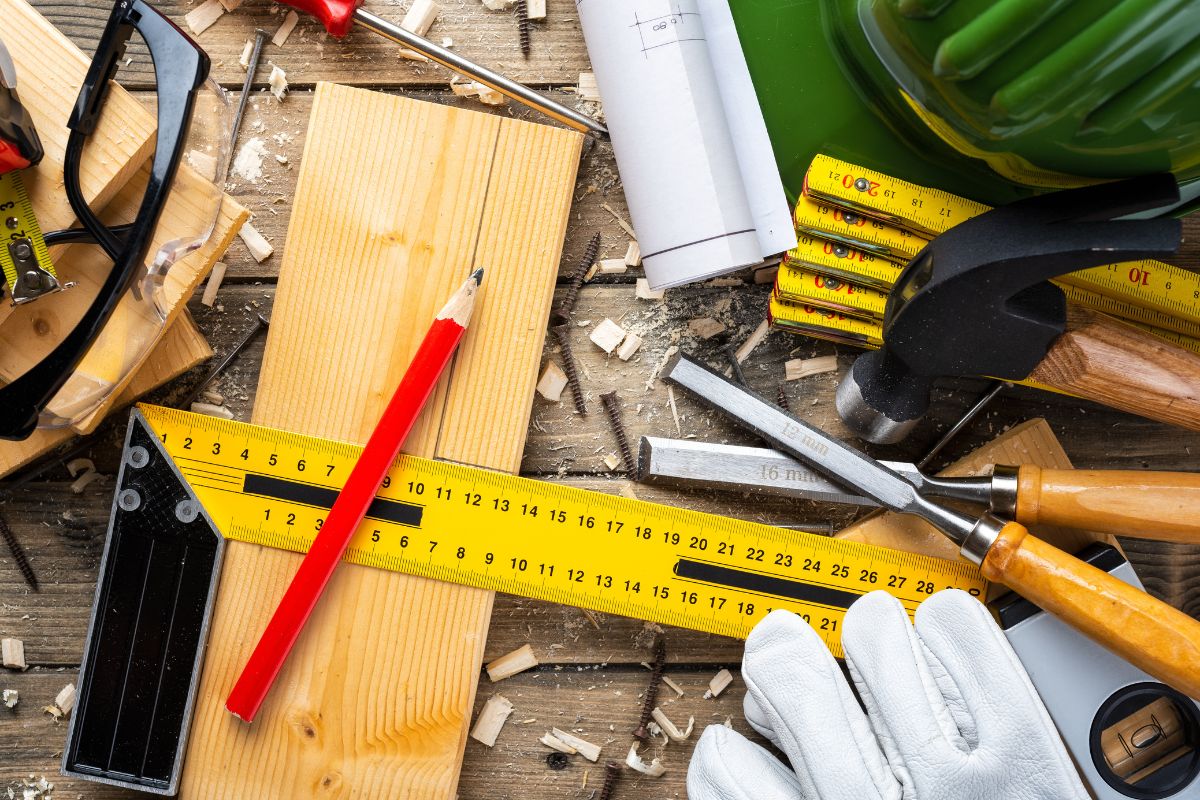
You will need the following tools and supplies:
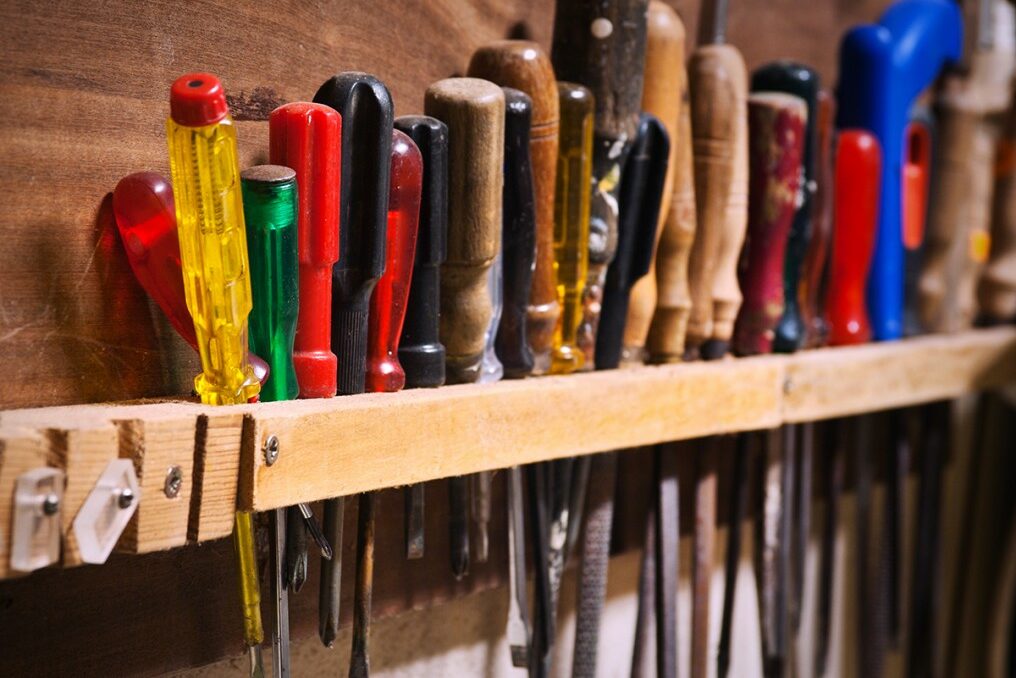
Photo credit: Source
What are you going to be using your shed for? What is the ramp going to be holding most of the time? This is going to help you determine the size of your shed ramp. If you are using it for a simple tractor, you can get your measurements from that tractor. If you are going to be using it for various pieces of equipment and machinery, measure to the largest one.
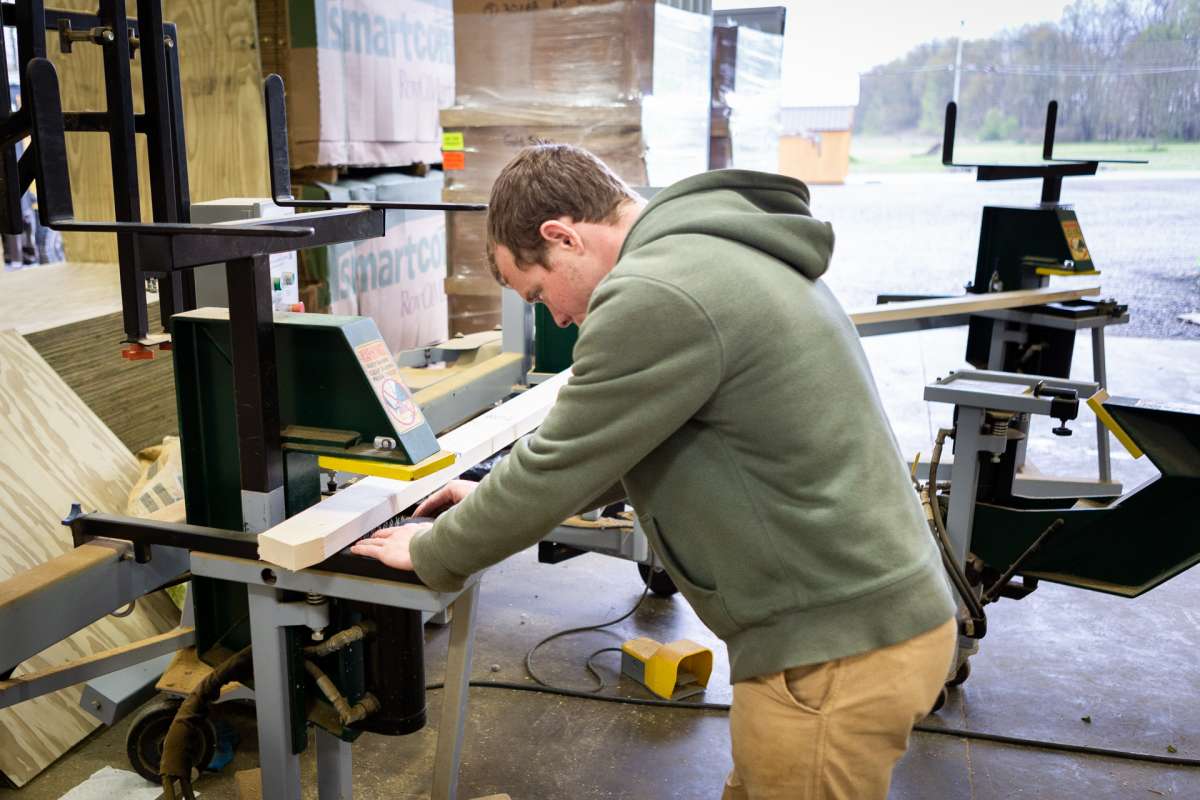
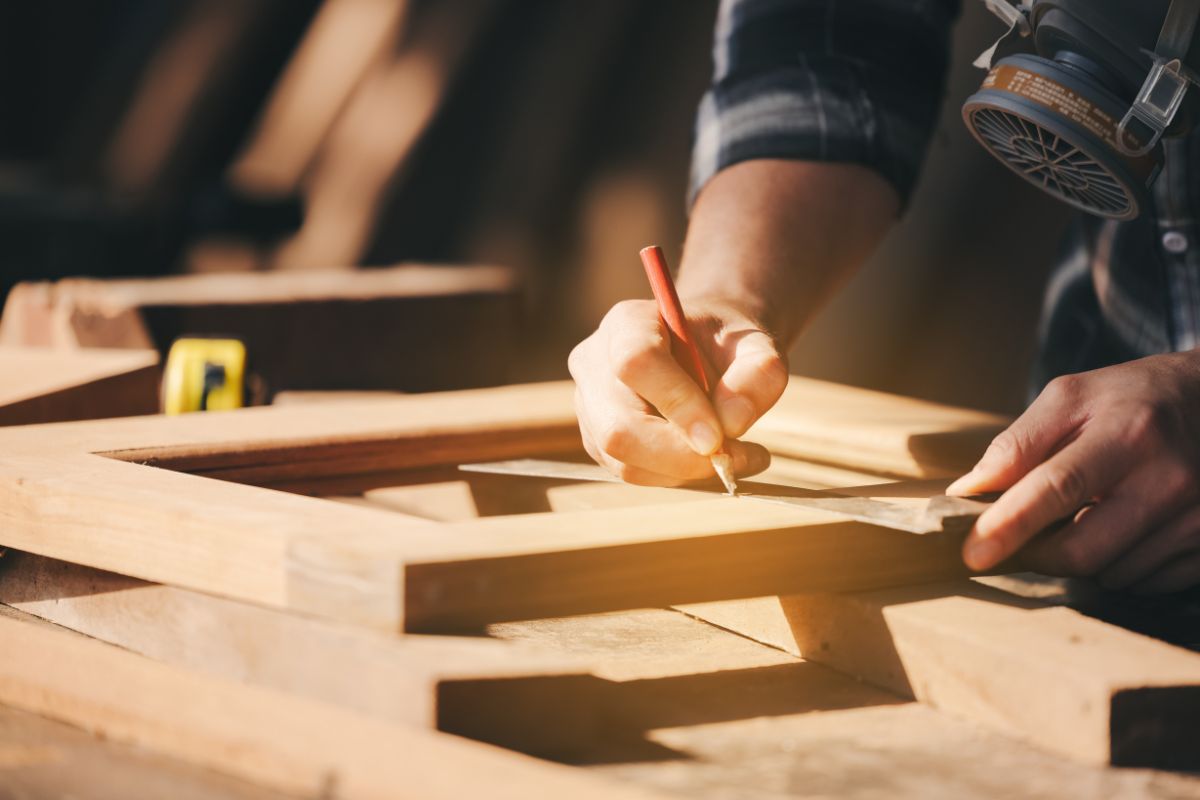
Now that you have finished planning and know your shed ramps’ purpose, it’s time to begin cutting your pieces. You should have;
Watch this helpful video for a step-by-step guide on cutting your pieces for your shed ramp.
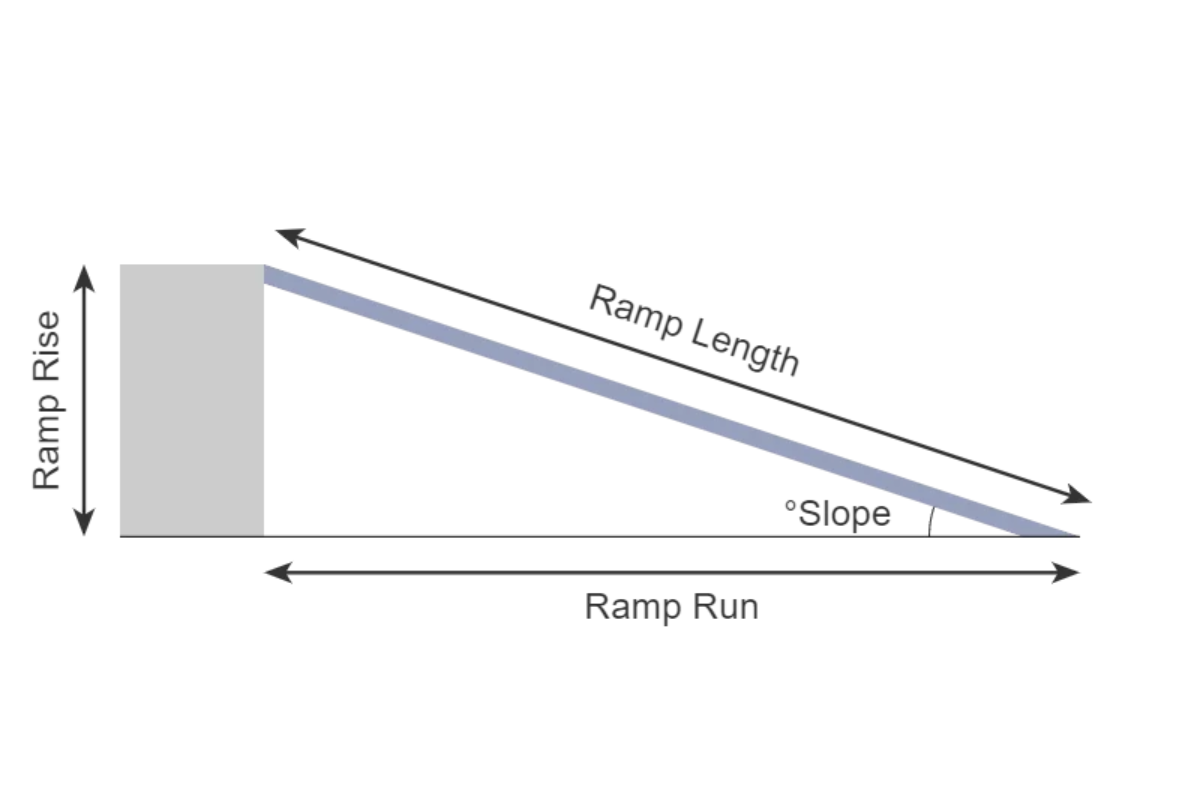
Not all sheds are situated on flat ground. Your shed may have a slope running in any direction from where it was placed. To begin constructing your shed ramp, you need to determine the angle that will be best for your ramp. By now, you should know how long you want your ramp to be, so follow these steps to determine the slope and angle.
Now, you can remove some of the dirt around the bottom section of your ramp. Create a space where it can have a snug fit. Make sure you check the level of your joists so that they are even with each other after excavation.
Using your drill, attach the ledger board and the joists. You can also attach your braces if this applies to you from the above steps. Lastly, add the end piece (opposite of the ledger board) onto the joists to secure them.
Need a visual guide for assembling the ramp? Check out this detailed video on putting all the pieces together.
Now, you can screw the ledger board into the shed. After it is secure, you can put a few exterior screws from the joists into the shed as well for extra support.
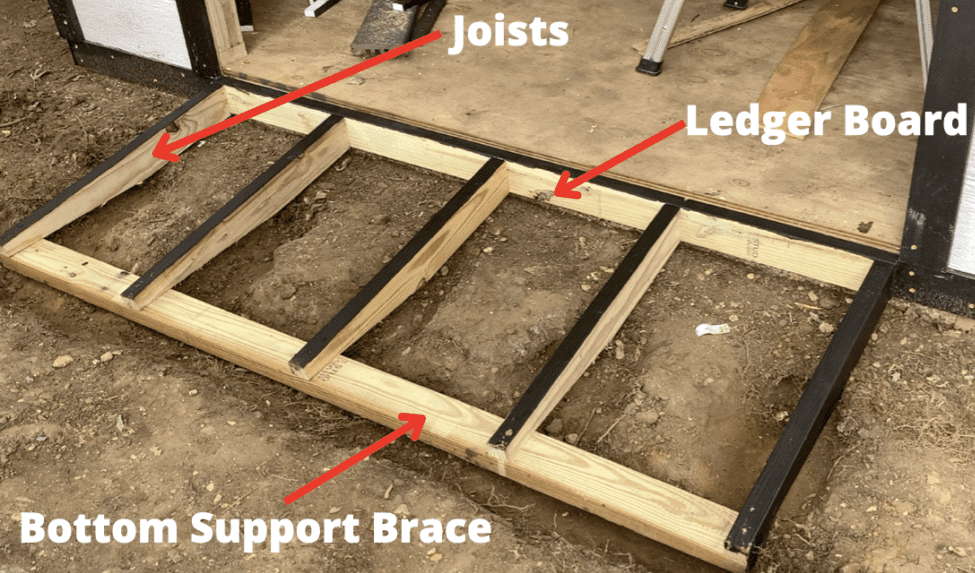
Photo credit: Source
Check the level one last time, now that everything is attached to each other and the shed. If you are satisfied, you can start the next step!
Add the loose dirt back to the surrounding shed ramp area. Fill in the space around the ramp and make it as flush to the ground as you want it. As you backfill the beginning of the ramp, this is what will give you the most flush drive onto the ramp.
Now, you will begin to see your ramp coming together as you add the final pieces. We recommend cutting your decking board slightly longer than your shed ramp base to give you a little overhang. You can always come back later and trim it up.

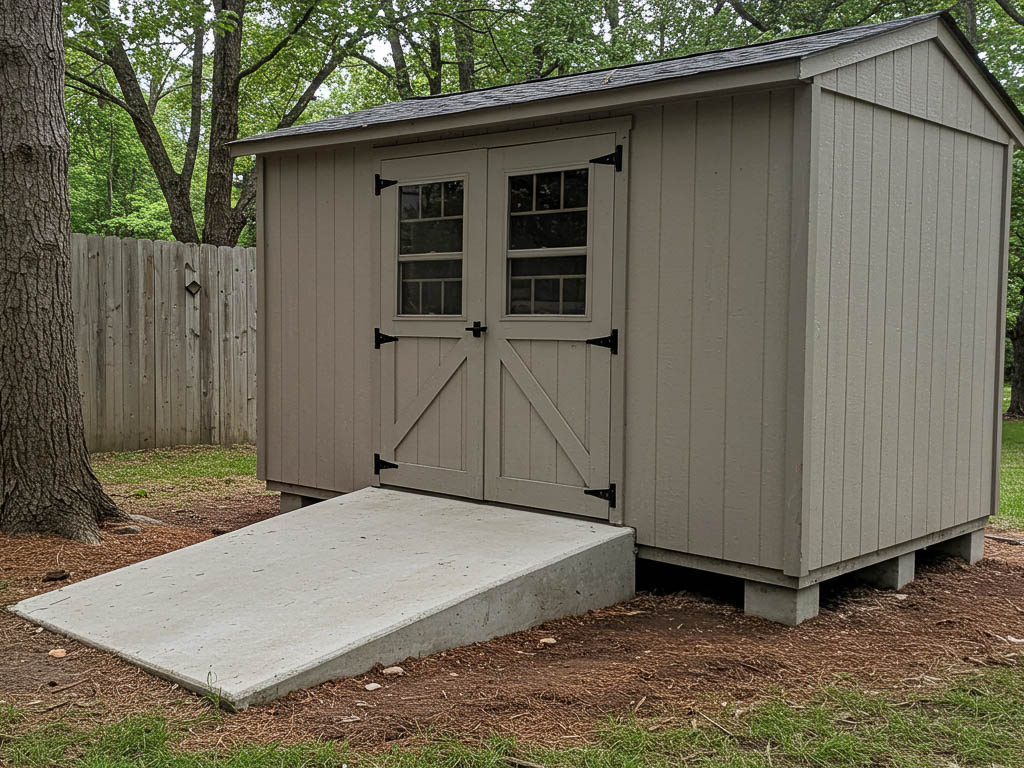
Step back! You did it! You should now be looking at your finished shed ramp, able to carry the weight of your supplies. If you need any assistance constructing this, feel free to give us a call! If you haven’t landed on a shed for your backyard space, we have a shed in stock in GA! Browse our selection today!

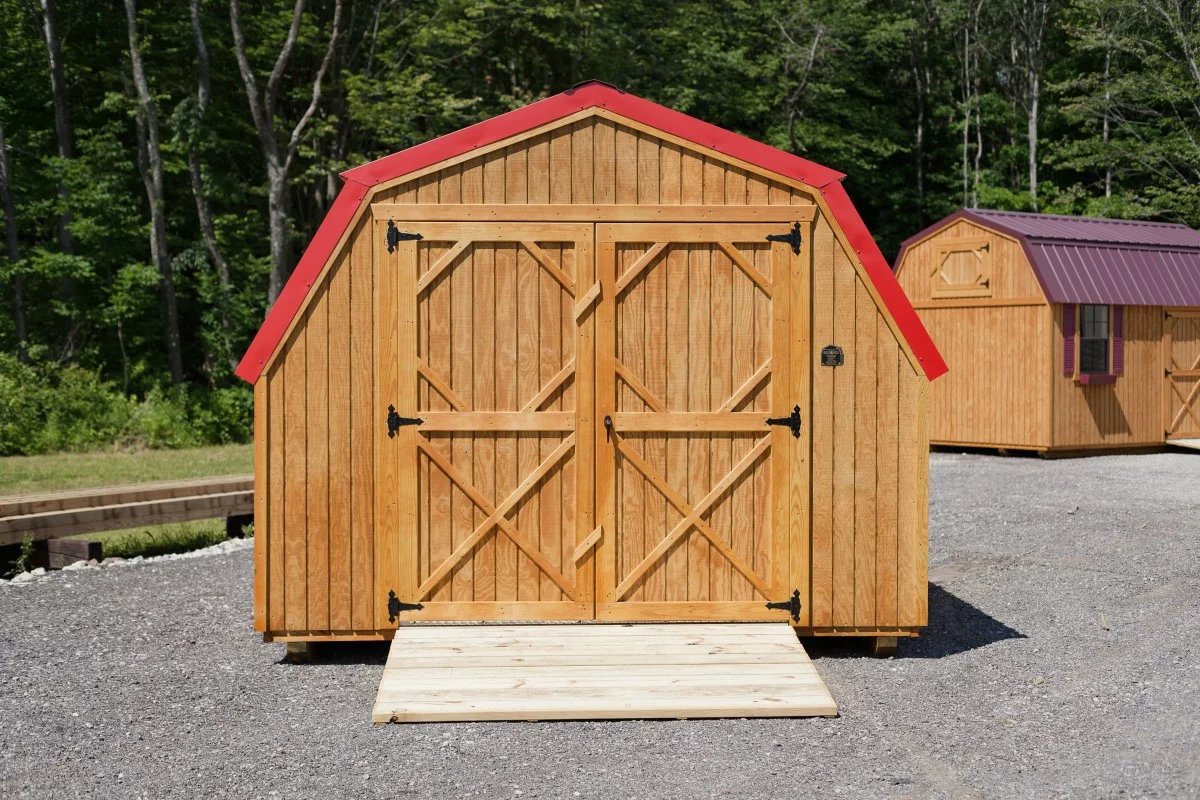
Photo credit: Source
Of course! You can purchase shed ramps from local hardware stores, as well as the place you bought your shed in most cases.
Besides making your own wooden shed ramp, there are other ramp options that you may want to consider. Besides wood, here are the other two shed ramp material options you have.
If you are thinking of DIYing, concrete ramps to take more time to construct than wooden ramps. Concrete shed ramps will evidently be stronger and last longer than wooden ramps if done correctly. If you are hiring a contractor to build this for you, be sure to remind them that they should tamp the concrete so that your ramp will drain better.
Aluminum shed ramps are also very durable and an excellent option for many sheds. These ramps will also be less expensive than building a concrete ramp while still keeping away insects and rot. If you are DIYing, they will also take less time to create than concrete ramps.
While not as standard as the above ramps, rubber shed ramps can get the job done. They are not very expensive, but you will need to find the right size to purchase. There really isn’t a DIY option for rubber shed ramps.
At Gold Star Buildings, we don’t want you to have to go far to find the best shed ramp. That is why we offer shed ramps as an add-on feature for our sheds. Generally, we offer three different sizes of ramps, each with its own price point.
| 4×4 Ramp | $110 |
| 6×4 Ramp | $145 |
| 9×4 Ramp | $265 |
Feel free to let us know if you are in need of a shed ramp, and we would love to talk to you about your specifications and desires! If you are interested in purchasing a shed and a ramp, visit our inventory or get a free estimate on any of our shed styles.
Want to see if a Gold Star building is right for you? Get a FREE quote or use our 3D Builder to design your own shed, garage, or cabin!

