Call 724-253-2771
Get a free quote or Design Your Building
Want to see if a Gold Star building is right for you? Get a FREE quote or use our 3D Builder to design your own shed, garage, or cabin!


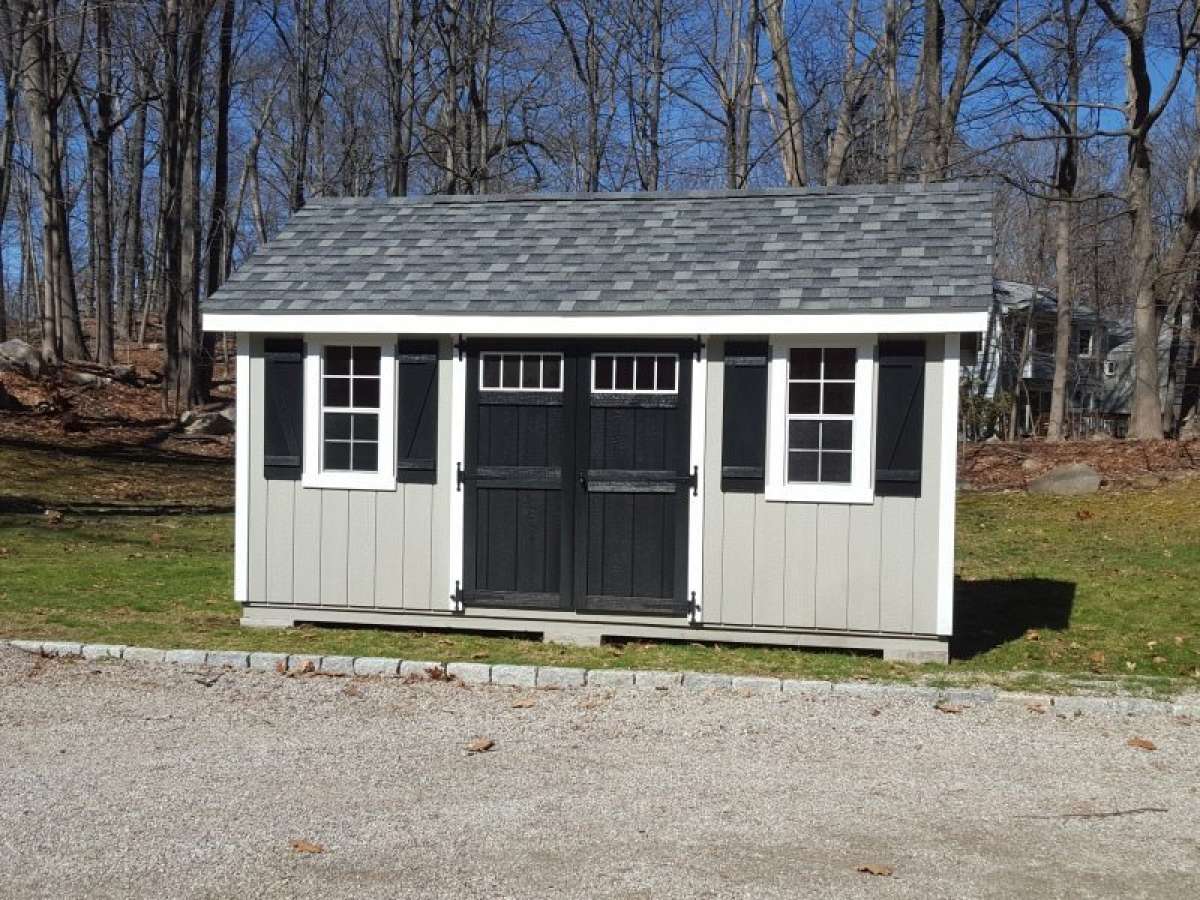
You’re looking forward to the big day when your new storage building arrives. Hopefully, you didn’t forget to build a shed base. Here are three reasons for building a shed base for your new shed.
There are several options for a shed base that you should be aware of. The option that you choose will depend on the terrain where your woodshed will be installed and your budget. Here are some of the most common options.
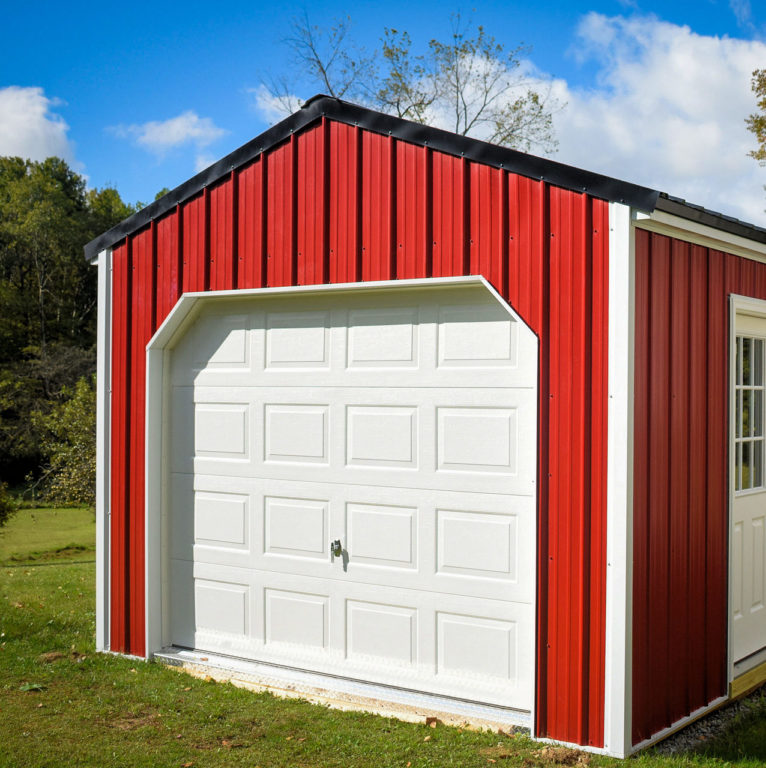
Concrete blocks. This option can work well for smaller sheds and mini barns on terrain that is already nearly level. It is not ideal for larger sheds, portable garages, pre-built cabins, or when very heavy items will be stored in the shed.
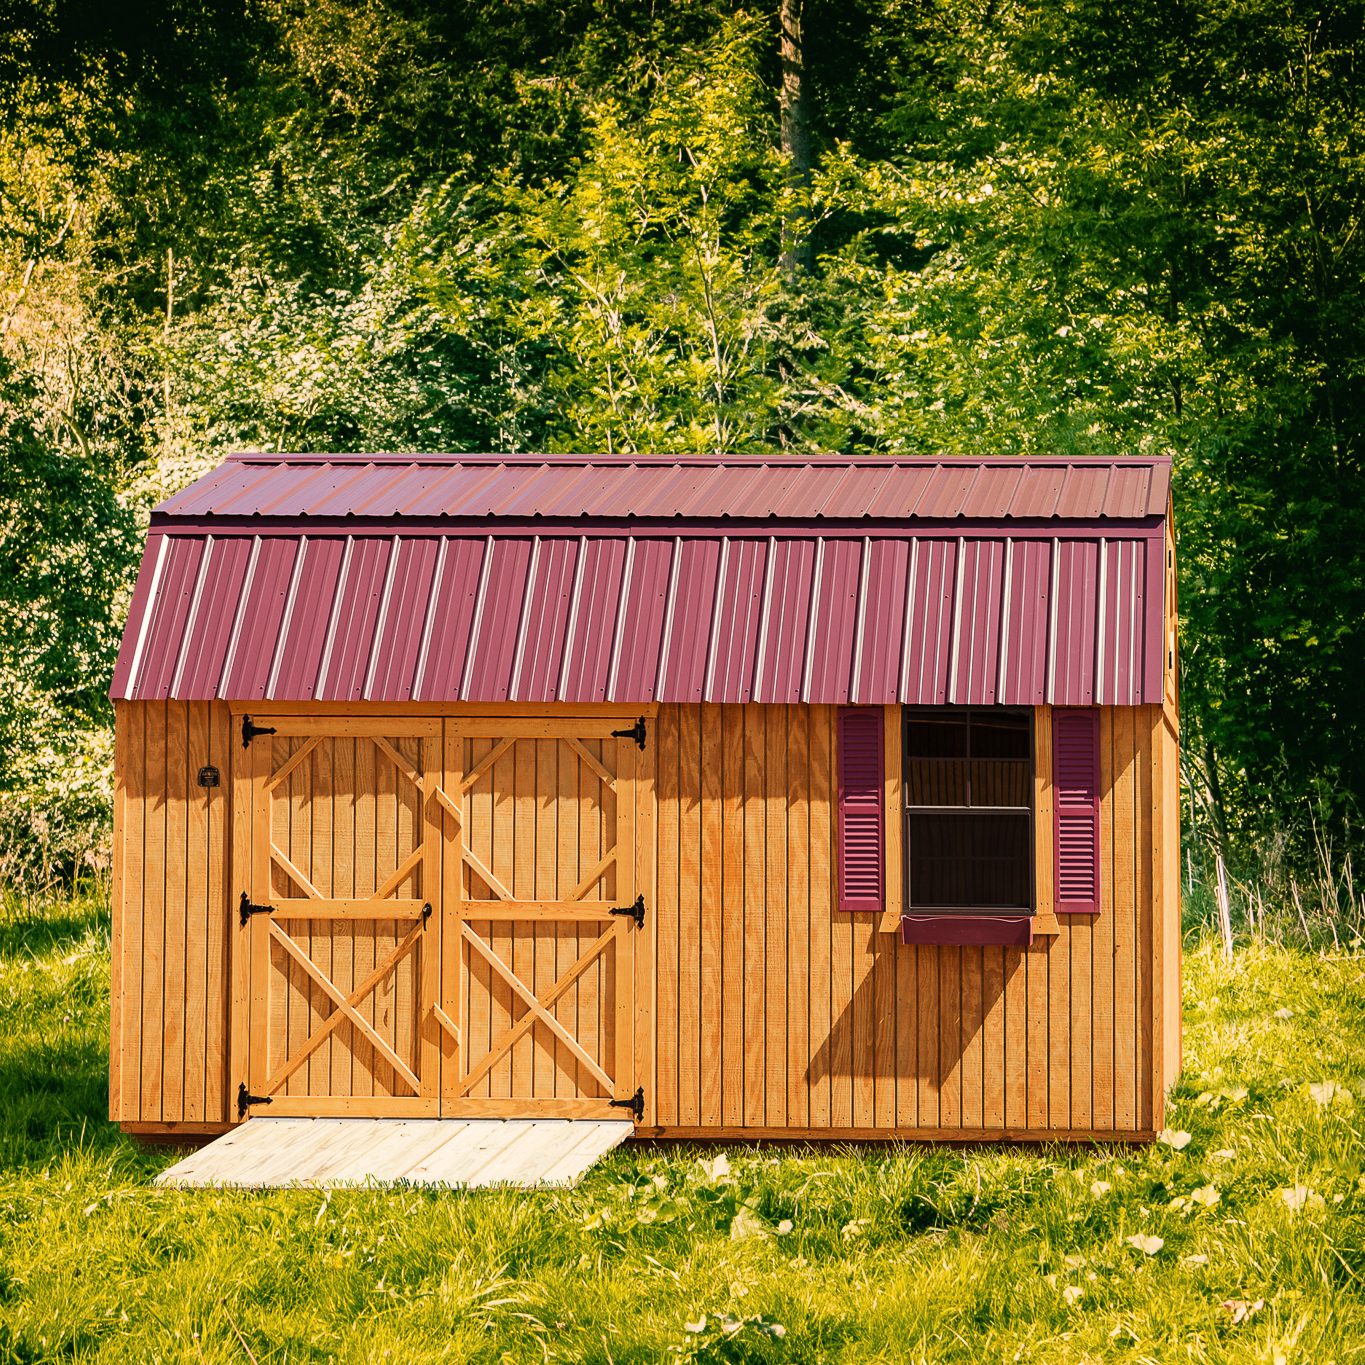
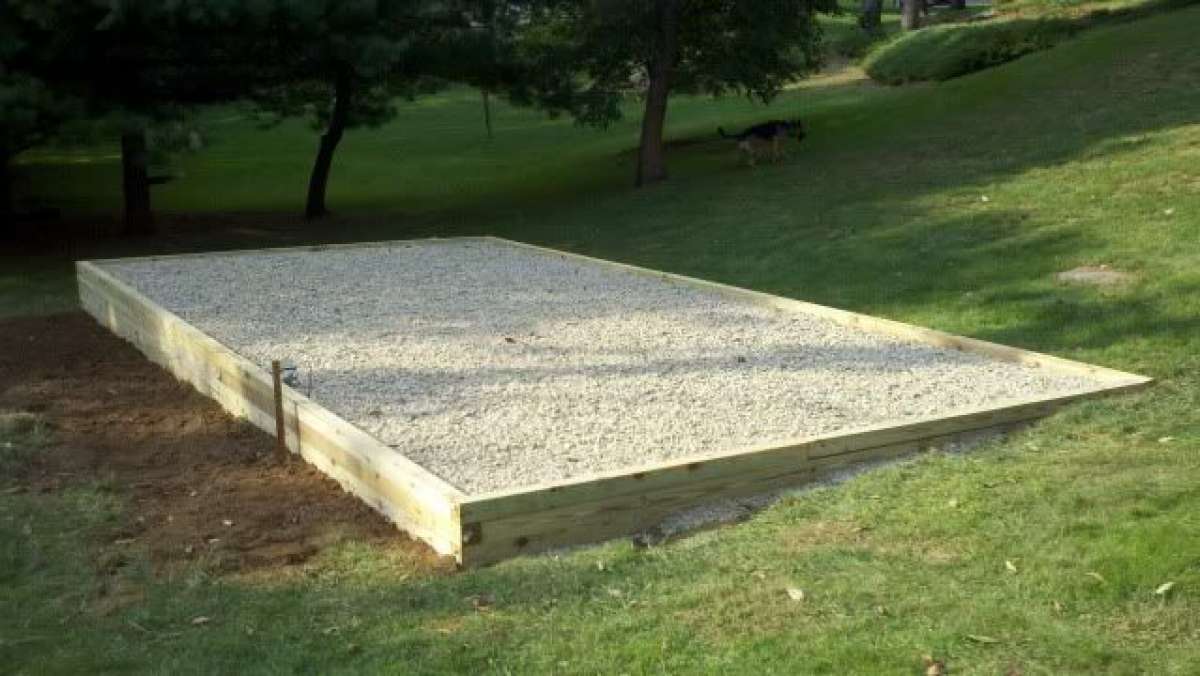
Gravel pad. This is a common option because it is relatively easy to install on level terrain and it performs very well as a base for wood storage sheds. Whether you have a Barn-style shed or a standard A-frame style building, a gravel pad will work well, big or small. The gravel helps to drain moisture away from the underside of the shed. Photo credit: Pinterest
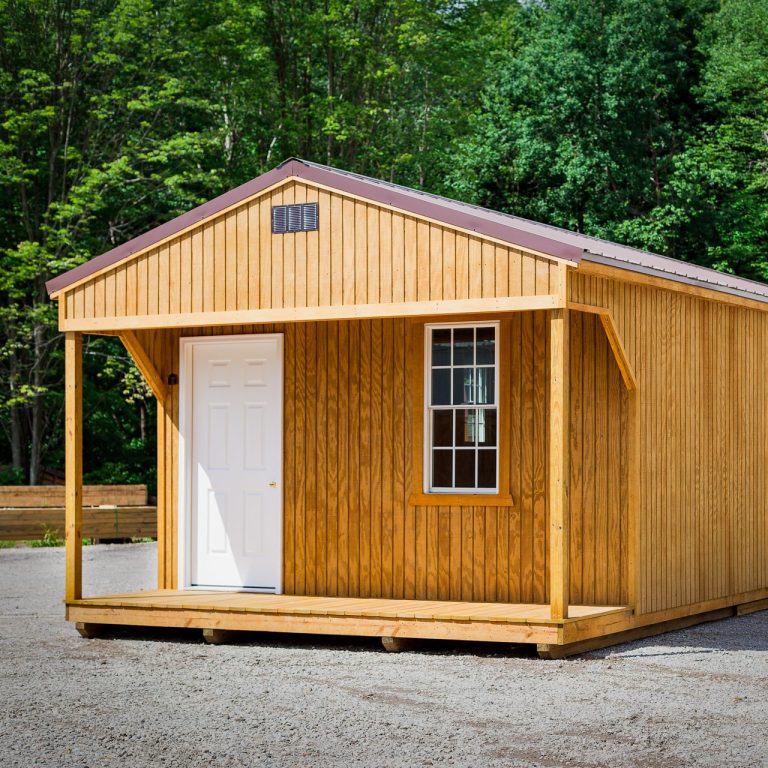
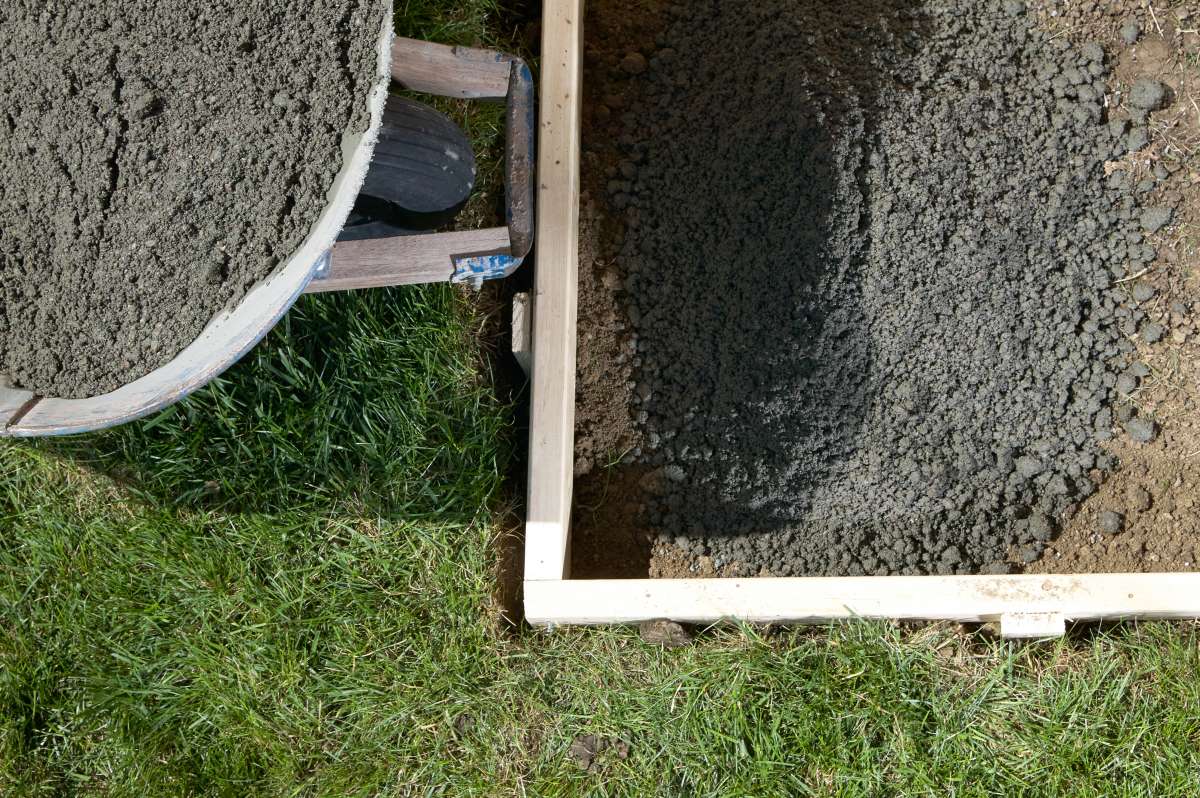
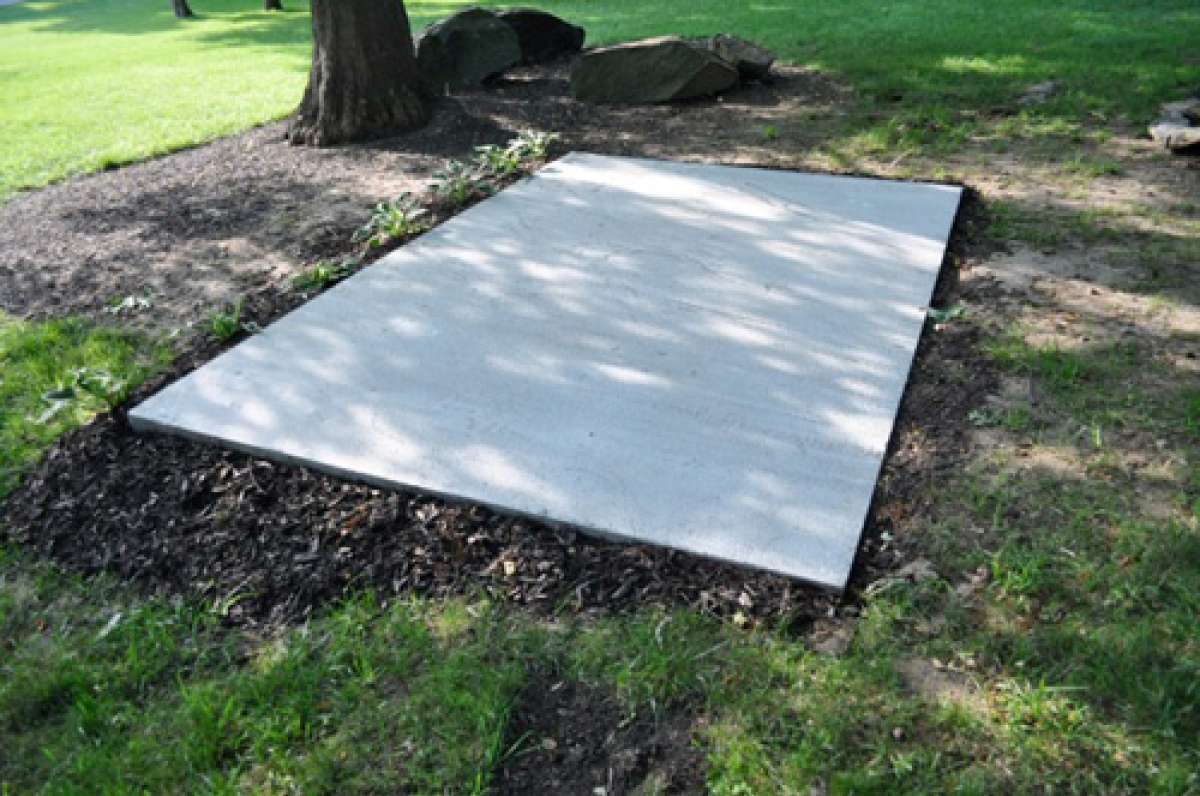
Concrete pad. This shed base is not as common because it is more expensive and difficult to install. A concrete pad is one of the best options if your building will be finished on the inside and used as a living space, workspace, or prefab cabin. Photo credit: One Project Closer.
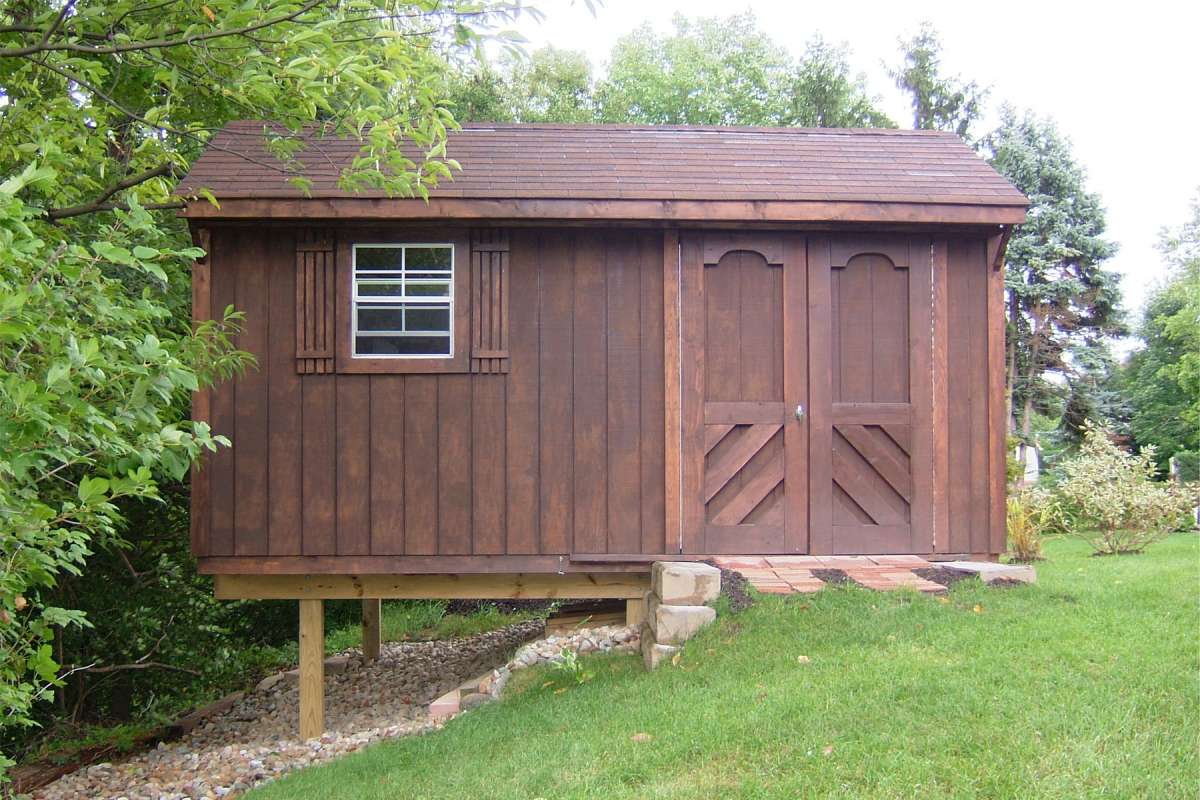
Wood platform. This is a less common option and is most useful on very steep terrain. It is built by placing sturdy posts into the ground and then building a deck that will support the wooden shed. Photo Credit: Leonie Movie.
In this guide, we’ll cover how to build a gravel prefab shed base since that is one of the most common options. We have the process broken down into 4 steps. For a more detailed tutorial, check out this step-by-step guide for how to build a gravel shed foundation.
1. Choose a location. You may have already completed this step but it’s good to put some thought into the location of your outdoor storage building. Check with your local township to make sure you follow setback guidelines. If installing next to a fence it’s a good idea to allow enough room between the shed and fence so that a person can squeeze through. Make sure the location can be accessed by your shed builder’s delivery equipment.
2. Stake out the spot. The completed shed base should be at least 1’ wider and longer than the size of your prefab barn; for example, if the foundation is for a 10×12 shed, the shed base should be at least 12×14. The most challenging part of this step is making sure the pad is square. You can use the 3/4/5 method to make your pad square. It is helpful to have two extra sets of hands for this step.
a. Begin by pounding in the first corner stake. Tie a string to the stake and stretch it out to the other corner. Mark the string at 4’ from the stake. Tie another string to the stake and stretch it to the other corner. Mark that string at 3’ from the stake. If the measurement from one mark on the string to the other is 5’ then your corner is square. You’re now ready to install the remaining three stakes. Here is an illustration to show how the 3/4/5 method works.
3. Level the spot. Taking the time to make sure your portable garden shed base is perfectly level will help to increase your satisfaction with the end product. Your shed will look better and feel better when you walk inside if it rests on a level base. This is also the time to remove any vegetation from the base area.
a. You may want to install a retaining wall if your location requires you to do a significant amount of excavation.
b. It’s a good idea to install a divider between the gravel and the area surrounding the outdoor shed base to keep the gravel in place.
4. Install the gravel. Plan on getting enough gravel to cover the entire leveled area at least 3-4” deep. Take the time to smooth and level the gravel so that the wooden portable building rests firmly on your completed shed base.
That’s it! You’ve prepared a site that will help to protect your new building for many years. You may also be interested in reading our blog post on how to prepare for the delivery of your wooden storage building.
Want to see if a Gold Star building is right for you? Get a FREE quote or use our 3D Builder to design your own shed, garage, or cabin!

